When it comes to information about visas, a lot of people aren’t sure where to turn. There are a lot of guides on this subject and websites with specific information, but sometimes you just want an easy-to-understand guide that explains all the facts for you. In this article, we’ll give you the ultimate guide to visas in India.
How to Get a Visa for India
If you’re planning a trip to India, you’ll want to make sure you have the proper visa. Here’s everything you need to know about obtaining a visa for Indian Visa FAQ.
The process of obtaining a visa for India is simple. However, there are a few things you’ll need to gather before starting the application process. These include your passport information, an image of your passport, and your visa application form. You can download all of these items from the Indian embassy website.
Once you’ve gathered your materials, it’s time to start the application process. The first step is to visit the Indian embassy in your home country. There, you’ll need to provide your passport information and an image of your passport. After this, you’ll be given an application form to complete. Once you’ve completed the form, return it to the embassy. You’ll then be required to pay a processing fee.
After paying the processing fee, you’ll receive an email notification indicating that your application has been processed. You’ll now be required to schedule a meeting with a visa officer at the Indian embassy in your home country. At this meeting, you’ll be given more information about your visa and required
What Are the Requirements for an Indian Visa?
There are a few things you’ll need in order to obtain an Indian visa. First, you’ll need a passport that is valid for at least six months beyond your planned stay in India. Second, you’ll need proof of travel funds, meaning that you have enough money to cover your expenses while in India. And finally, you’ll need a visa application form. Indian Visa Information
Here’s a more detailed guide on what each of these requirements entail:
1) Passport: The passport must be valid for at least six months beyond the planned length of your stay in India. This means that if you’re planning on staying for three months, your passport must be valid for nine months. Passports from certain countries – including Canada – are exempt from this requirement. If your passport is not valid for the full duration of your stay in India, you may be able to purchase an emergency travel document from the Indian embassy or consulate.
2) Proof of Funds: You will need to provide proof of travel funds in order to apply for an Indian visa. This could include a bank statement that shows that you have enough money to cover your expenses while in India, or photocopies of your bank statements with the dates
Do I Need a Visa Appointment?
If you’re travelling to India for leisure, you don’t need an appointment – just show up at the Indian Embassy or Consulate. However, if you’re travelling for business, you’ll need to make an appointment first. Visa appointments can be made through the Indian Embassy or Consulate’s website. Appointments usually last one hour, but they can also be cancelled with a few minutes’ notice.
If you’re travelling without a visa, don’t worry – just show up at the airport with your passport and visa application form and you’ll be waved through. However, if you have a visa application form and don’t have your passport, you’ll need to go to the police station and get a certificate of identity document (CID). This document will show that you have a valid visa.
What’s Next After My Visa Approval?
If your visa application is approved, the next step is to prepare for your trip. Here are a few tips to help make your journey go as smoothly as possible:
– Get your travel insurance in place. Make sure you have coverage for any potential medical issues while traveling to India.
– Check the timings of the various airports in India. Some airports may be closed at night or during rush hour, so be aware of these closures and plan accordingly.
– Make sure you have all the documents you’ll need for your trip, including a copy of your passport, plane tickets, and visa application forms.
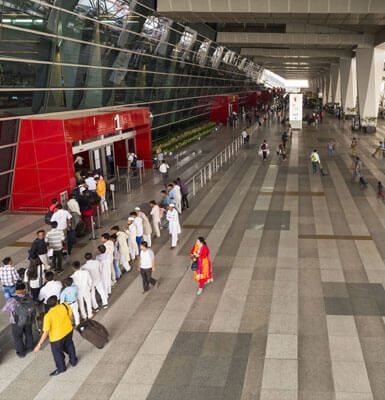
– Arrive early at the airport and proceed through security as quickly as possible. Don’t waste time trying to collect your luggage after going through security – it will likely be waiting for you at the baggage claim area.
– Take plenty of photographs and video footage of your trip – not only will this help you remember your trip later on, but it can also be used as evidence should something go wrong during your travels.